Selectors of CSS
Imagine you are working with a typical word processor. When you are finished composing and perhaps editing your document, your job becomes one of formatting. To determine formatting for various parts of the document, you take two steps: you select the area you wish to format by dragging over it with the mouse, and then you apply various styling rules, usually by clicking command buttons or keyboard shortcuts. You might select the entire first paragraph, for example, and then determine that you want the font size to be increased to 10pt. Or you may choose only a single word and set it to be underlined.
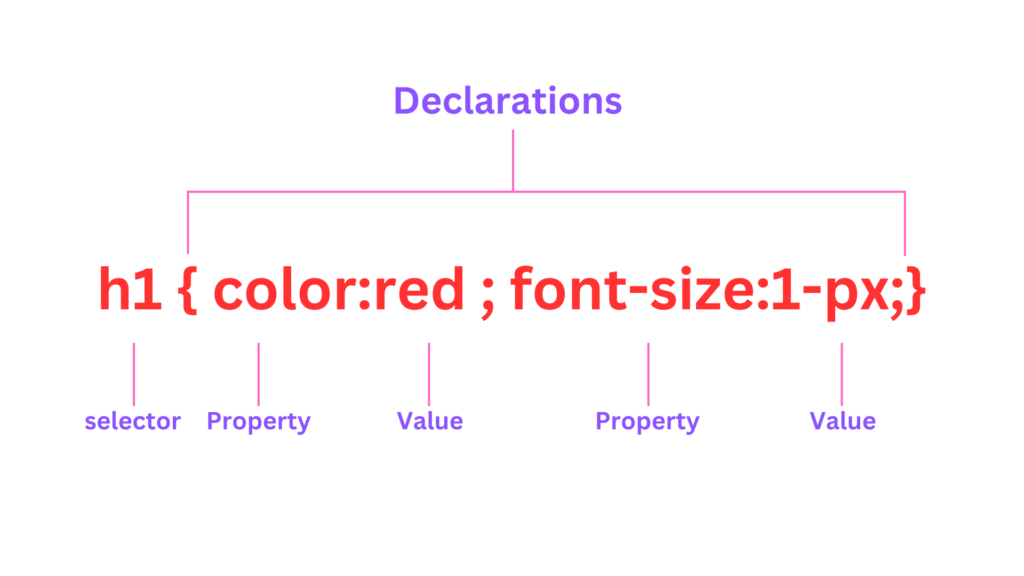
These are exactly the steps you will take with CSS, only you select using a selector, and you apply styles using style properties. Your selector designates which HTML, elements you want to select, and the associated style properties determine what should happen to that selection So writing selectors that select exactly what you intend is obviously a very important step, and I beg you not to skip over this section.
What this amounts to is wasted time, space, and complexity, either over-defining their HTML with class and ID decorators that are not necessary or with redundant or wordy style rules is their CSS. Either misstep adds to the complexity of the project, which has obvious penalties even if the site or app works perfectly line. A selector is an expression that is evaluated and results in a list of zero to many DOM elements (or pseudo-elements, but we’ll get to that later).
The evaluation of a selector may, for instance, result in the selection of every div element on the page, the first p to the body, or the page footer element. Selectors can get quite specific, however, and result to things like every third list them (11) in the ordered list (al) or the first letter of the third paragraph of the div called my0tv. The goal in defining your selector is to select what you want, and that’s all. It is quite common to define a selector and style rule only to find that your rule is affecting more elements than you had intended.
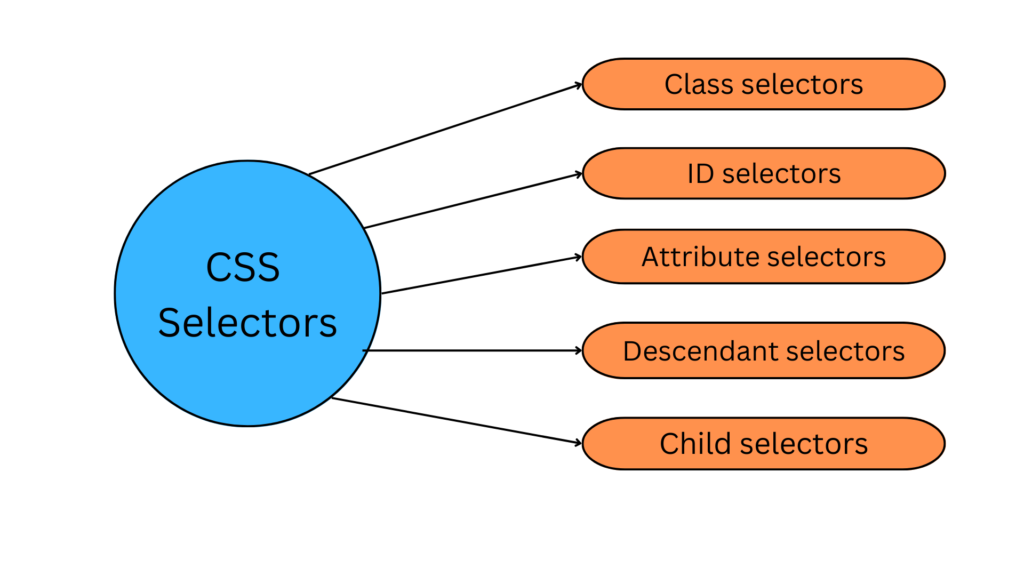
There are a few different ways of referring to the same element. You can refer to it by its type (which is its tag name or element name, Le, div, p. video, body, etc.). You can refer to it by its unique id attribute if it has one. You can refer to it by any of the values in its class attribute. Or, finally, you can refer to it using one of many other creative methods which we’ll get to in due time.

Type selectors: Type selectors target elements based on their element type. For example, if you want to apply a style to all <p> elements in your document, you can use the following selector:
p {

color: red;

}
This will make all paragraphs in your document appear in red.
Class selectors: The most common way to apply styles without worrying about the elements involved is to use class selectors. Before you can use them, however, you need to modify your actual document markup so that the class selectors will work. Enter the class attribute:
<p class="warning">When handling plutonium, care must be taken to avoid the formation of a critical mass.</p> <p>with plutonium, <span class="warning">the possibility of implosion is very real, and must be avoided at all costs</span>. This can be accomplished by keeping the various masses separate.</p>
To associate the styles of a class selector with an element, you must assign a class attribute to the appropriate value. In the previous code, a class value of warning was assigned to two elements: the first paragraph and the span element in the second para-graph.
All you need now is a way to apply styles to these classed elements. In HTML documents, you can use a very compact notation where the name of a class is preceded by a period (.) and can be joined with an element selector:
*warning {font-weight: bold;)
That is, the declaration font-weight: bold will be applied to every element (thanks to the presence of the universal selector) that carries a class attribute with a value of warning.
You can apply the .highlight class to any element by adding class=”highlight” to its HTML tag.
ID selectors: CSS reserves the ID selector for identifying a unique part of a page, like a banner, navigation bar, or the main content area. Just like a class selector, you create an ID by giving it a name in CSS, and then you apply it by adding the ID to your page’s HTML code. ID selectors have some specific uses in JavaScript-based or very lengthy web pages. Otherwise, compelling reasons to use IDs over classes are few.
When deciding whether to use a class or an ID, follow these rules of thumb:
- To use a style several times on a page, you must use classes. For example, when you have more than one photo on your page, use a class selector to apply styl ing like a border-to each <img> tag you wish to style.
- Use IDs to identify sections that occur only once per page. CSS-based layouts often use ID selectors to identify the unique parts of a web page, like a sidebar or footer. Part 3 shows you how to use this technique.
- Consider using an ID selector to sidestep style conflicts, since web browsers give ID selectors priority over class selectors. For example, when a browser encounters two styles that apply to the same tag but specify different background colors, the ID’s background color wins.

This comprehensive article delves into the world of ID selectors in CSS, providing practical examples and insights to help you harness their full potential. Whether you are a beginner seeking to grasp the basics or an experienced developer looking to enhance your CSS skills, this guide will equip you with the knowledge to leverage ID selectors effectively. To apply a style to a specific element with a given ID, you can use the following selector:
#logo {
width: 200px;
}
In this example, the #logo ID selector targets the element with id=”logo” and sets its width to 200 pixels.
Attribute selectors: Attribute selectors target elements based on their attribute values. Attribute selectors in CSS provide a flexible and powerful way to target HTML elements based on their attribute values. By understanding and utilizing attribute selectors effectively, web developers can apply specific styles to elements that meet specific criteria. This comprehensive article dives into the world of attribute selectors, explaining their syntax, usage, and real-life examples. Whether you are a beginner or an experienced developer looking to expand your CSS skills, this guide will equip you with the knowledge to leverage attribute selectors for enhanced styling and interactivity. There are different types of attribute selectors available:
Selecting elements with a specific attribute:
input[type="text"] {
border: 1px solid black;
}
This selector targets all input elements with the attribute type=”text”.
Selecting elements with an attribute that starts with a specific value:
a[href^="https://"] {
color: blue;
}
This selector targets all anchor elements with an href attribute that starts with “https://”.
Selecting elements with an attribute that ends with a specific value:
img[src$=".png"] {
border: 1px solid red;
}
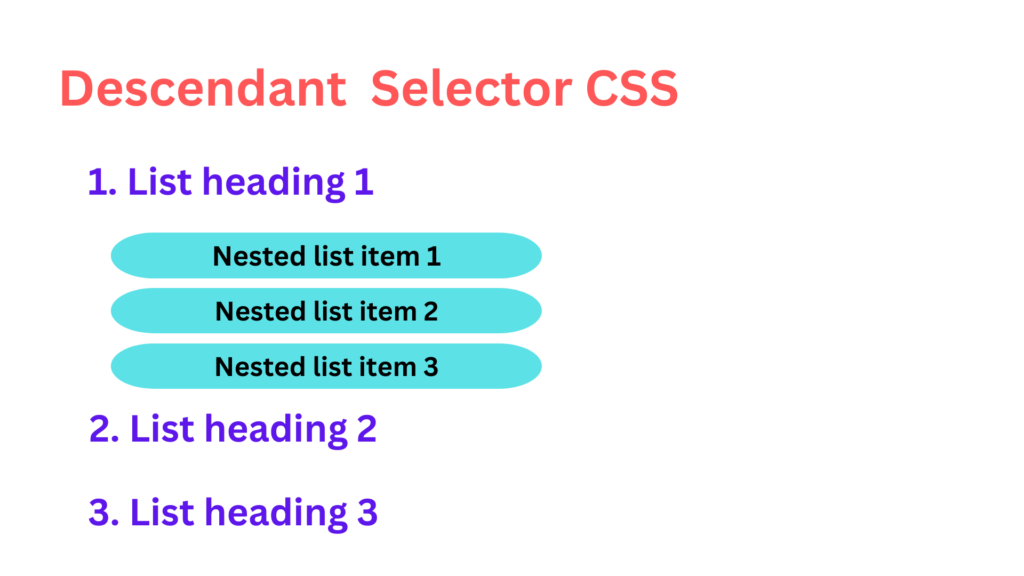
Descendant selectors: Descendent selectors let you take advantage of the HTML. family tree by format- ting tags differently when they appear inside certain other tags or styles. For example, say you have an <h1> tag on your web page, and you want to emphasize a word within that heading with the <strong> tag. The trouble is, most browsers display both heading tags and the <strong> tag in bold, so anyone viewing the page can’t see any difference between the emphasized word and the other words in the head line. Creating a tag selector to change the <strong> tag’s color and make it stand out from the headline isn’t much of a solution: You end up changing the color of every <strong> tag on the page, like it or not. A descendent selector lets you do what you really want-change the color of the <strong> tag only when it appears inside of an <h1> tag.
The solution to the <h1> and <strong> dilemma looks like this:
h1 strong { color: red; }
Here any <strong> tag inside an hl is red, but other instances of the <strong> tag on the page aren’t affected. You could achieve the same result by creating a class style-strongHeader, for example but you’d then have to edit the HTML by add- ing class=”strongHeader” to the <strong> tag inside the header. The descendent selector approach adds no HTML and no more work beyond creating the style!
Descendent selectors style elements that are nested inside other elements, following the exact same pattern of ancestors and descendents as the tags in the HTML family tree. You create a descendent selector by tacking together selectors accord- ing to the part of the family tree you want to format, with the most senior ancestor on the left and the actual tag you’re targeting on the far right. For example, in Figure 3-5, notice the three links (the <a> tag) inside of bulleted list items and another link inside of a paragraph. To format the bulleted links differently than the other links on the page, you can create the following descendent selector:
li a {

font-family

: Arial; }

For Example:
div p {

color: green;

}
This selector targets all <p> elements that are descendants of a <div> element.
Child selectors: Child selectors target elements that are direct children of other elements. CSS Child Selectors provide developers with the ability to target elements that are direct children of a specific parent element. Understanding and effectively utilizing Child Selectors is crucial for applying selective styling and maintaining a well-structured and organized codebase. This article delves into the realm of CSS Child Selectors, offering insights, examples, and practical applications to enhance your styling capabilities. Whether you are a novice or a seasoned developer, this comprehensive guide will equip you with the knowledge to harness the potential of Child Selectors in your CSS workflow.They are denoted by the > symbol.
For Example:
ul > li {

list-style-type: square;

}
This selector targets all <li> elements that are direct children of a <ul> element.
Pseudo-classes and pseudo-elements: Pseudo-classes and pseudo-elements allow you to target elements based on specific states or positions. Some examples include :hover, :focus, :first-child, :before, and :after. Here’s an
Example:
a:hover {

color: orange;

}
This selector targets anchor elements when they are being hovered over by the user.
In conclusion, CSS selectors provide a powerful mechanism for targeting and styling specific elements in a document. Understanding the different types of selectors and how they work is crucial for effectively applying styles to your web pages. By mastering CSS selectors, you can create visually appealing and engaging user interfaces on the web.
As you continue your journey in web development, remember to choose selectors wisely to balance specificity and flexibility. Use the appropriate selector for each scenario, optimizing performance and enhancing readability. Additionally, keep up with the latest advancements in CSS to stay informed about new selector features and techniques.
By mastering CSS selectors, you can create visually stunning and user-friendly websites that stand out from the crowd. So, experiment, explore, and enjoy the creative possibilities that CSS selectors offer in your web development endeavors.